Crockpot Chicken And Potatoes Recipes
Crockpot Chicken And Potatoes Recipes There are nights when my heart feels pulled in a hundred directions—kids’ homework, laundry that never ends, and that sinking …
Looking for easy, healthy chicken dinner ideas that actually taste amazing? Our Healthy Chicken Dinner Recipes collection features simple, high-protein meals perfect for busy weeknights. From one-pan baked dishes to comforting soups and low-carb skillets, every recipe is balanced, satisfying, and made with real ingredients. Whether you’re feeding a family or meal-prepping for the week, these chicken dinners are designed to keep you full and feeling great — without the guilt.
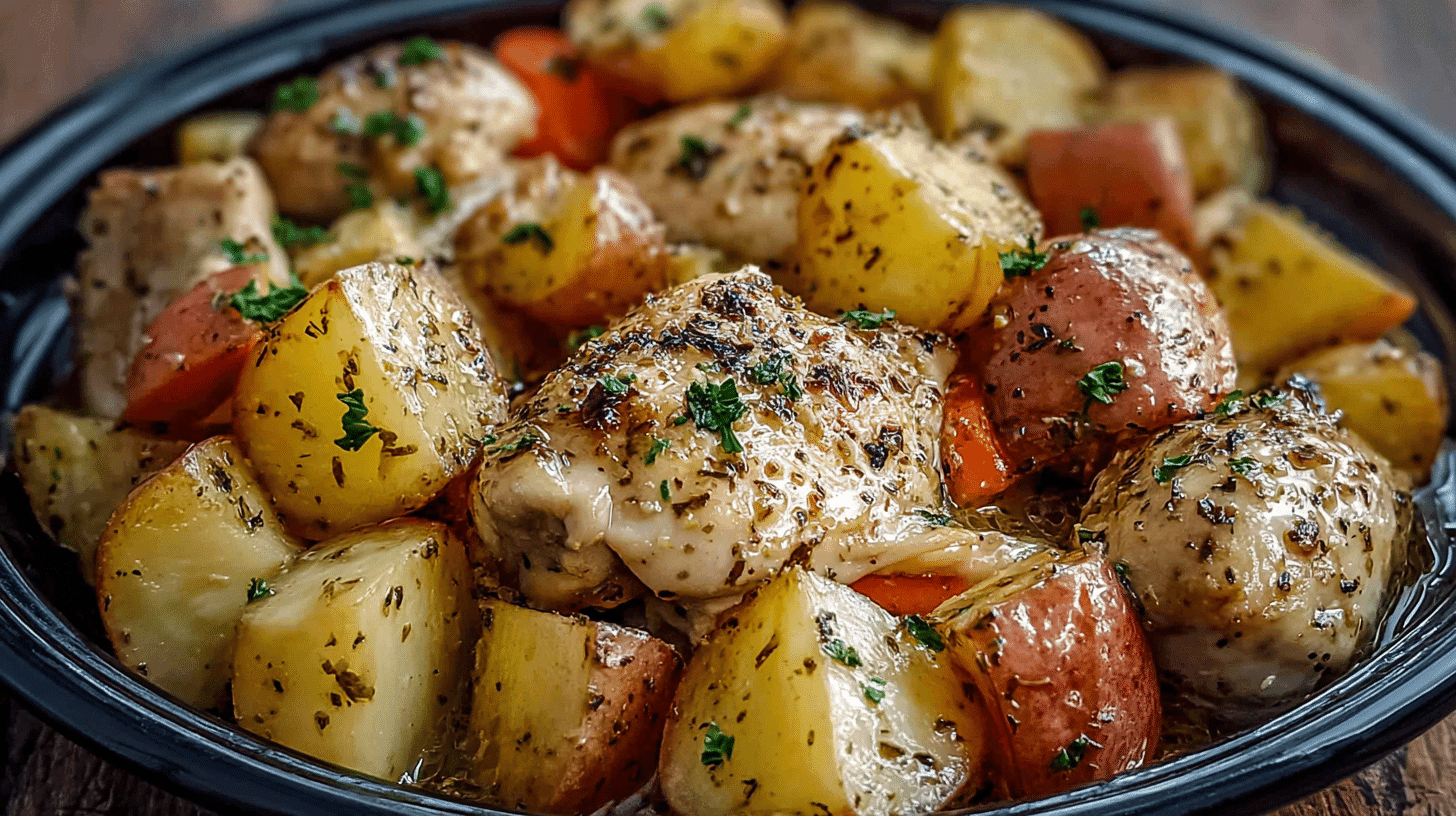
Crockpot Chicken And Potatoes Recipes There are nights when my heart feels pulled in a hundred directions—kids’ homework, laundry that never ends, and that sinking …
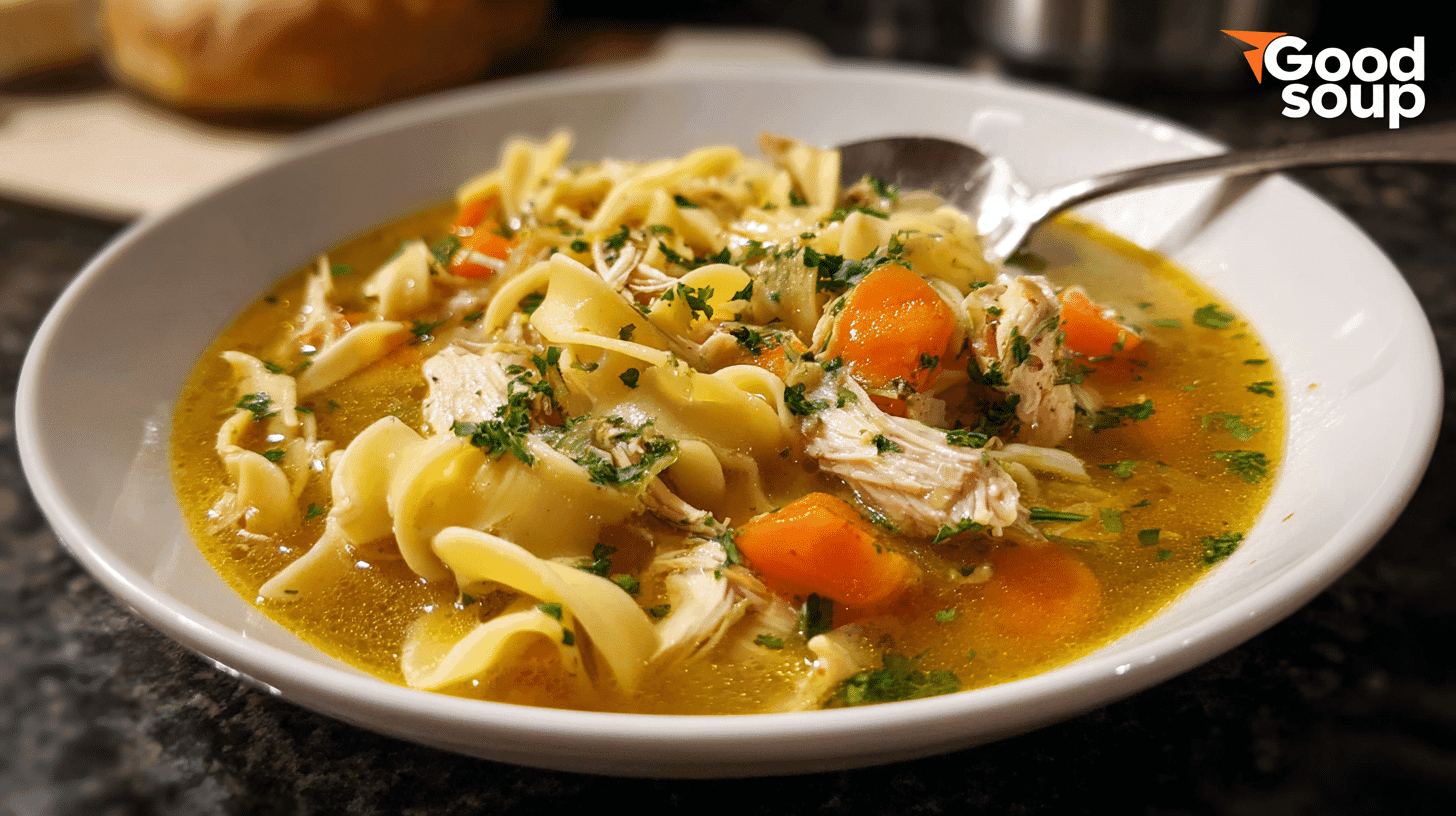
When the weather turns gray and my house feels a little too quiet, I find myself reaching for a big pot and a bundle of …
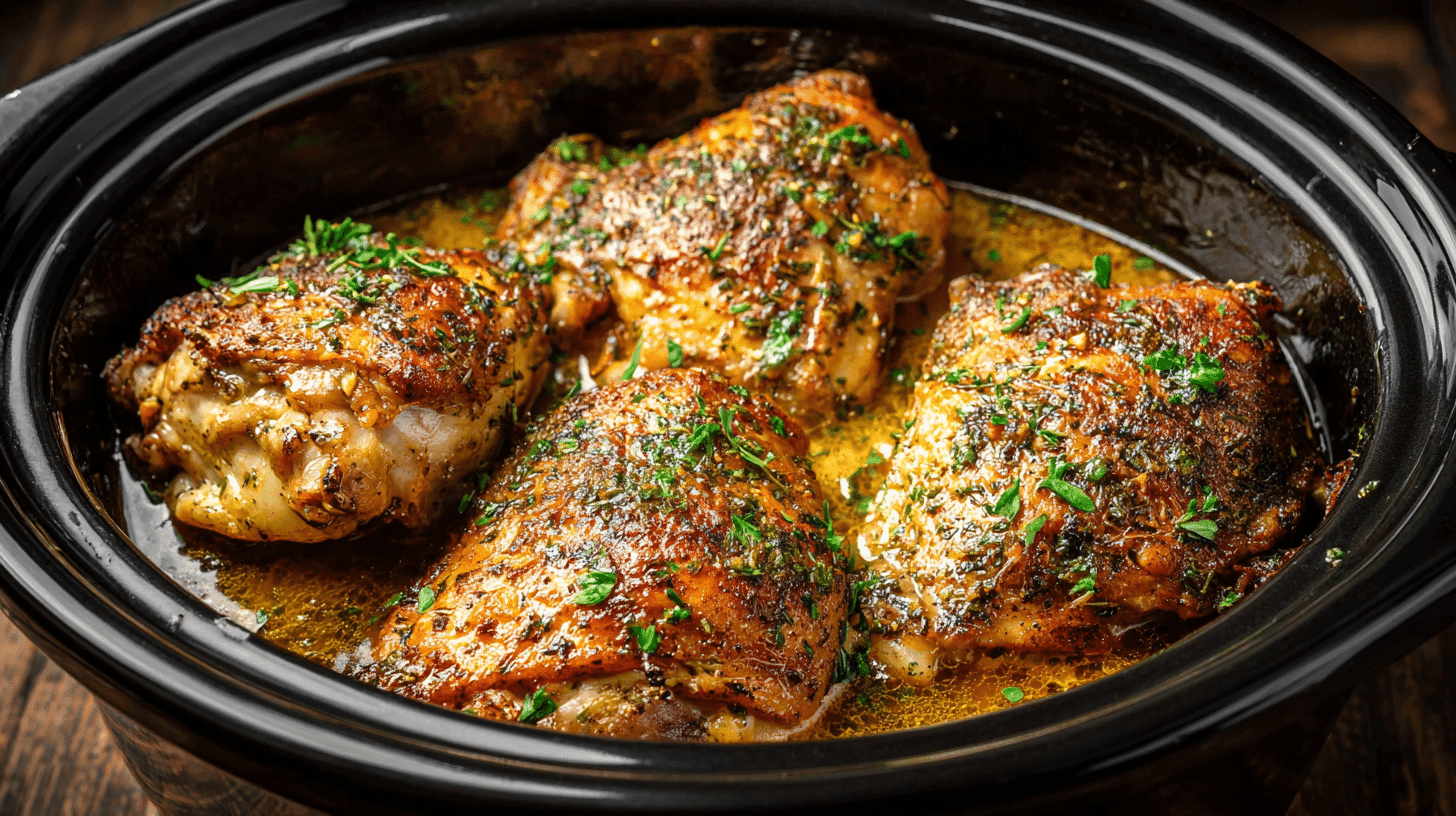
If you’re looking for tender, juicy chicken with minimal effort, chicken thighs slow cooker recipes are the way to go. Slow cooking allows chicken thighs …

If you’re looking for a way to make delicious, comforting meals without spending hours in the kitchen, crock pot cooking is your answer. This method …
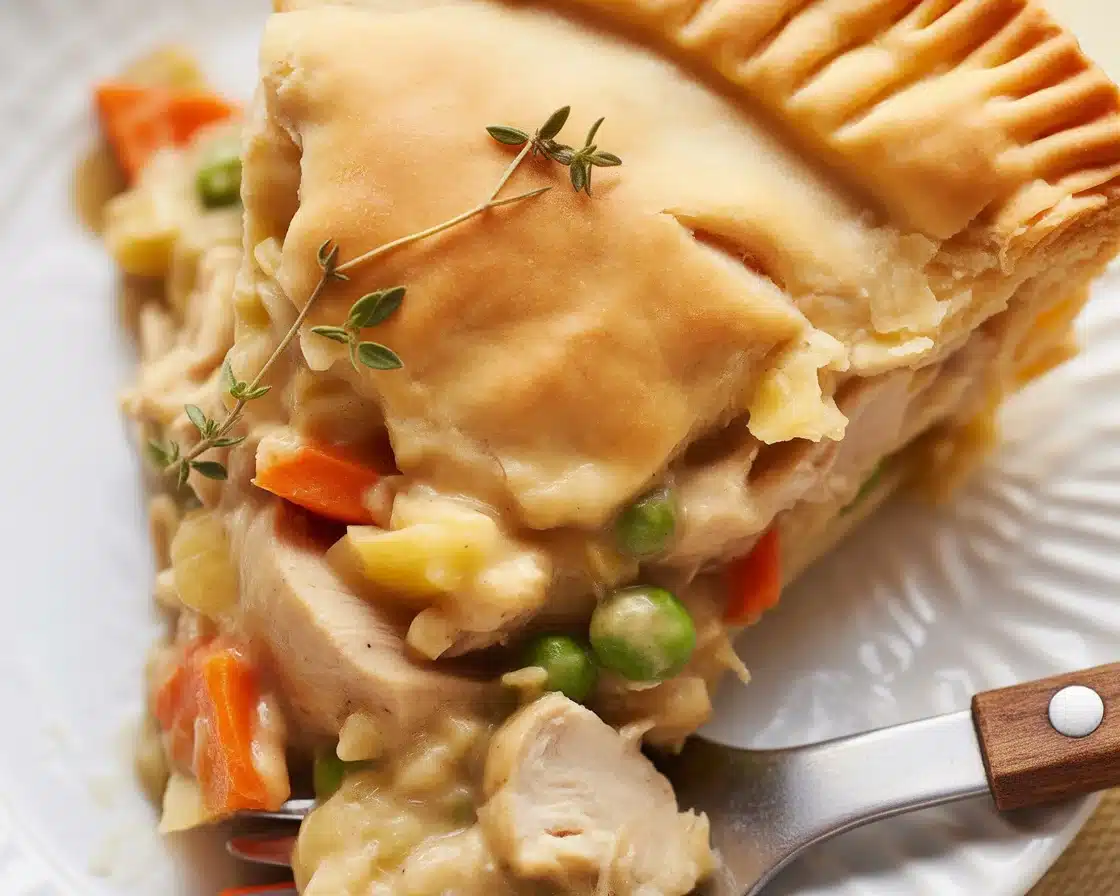
Chicken Pot Pie From Scratch is sort of my panic-button dinner when I want to impress but also crave comfort food. You ever get stuck staring at the fridge and think, what’ll make everyone at the table happy… but also isn’t from the freezer aisle? That’s usually me, especially after a cold, gray day (or just when the week got way too long). Let me tell you, making a chicken pot pie from scratch feels a lil intimidating at first, but trust me, it’s totally doable. It’ll fill the house with that dreamy, savory smell, and everyone will be hovering in the kitchen, asking when it’s done. If you want a go-to dinner that’s cozy but honestly feels like a five-star restaurant level special, this is it. Why This Chicken Pot Pie is a Must-Try I’m serious, chicken pot pie from scratch just slaps differently than anything frozen. Homemade wins, hands down. The crust is flaky, the filling’s creamy and bursting with flavor, and you can pile in carrots, peas, corn, whatever you like. One time my neighbor tried it and said it reminded him of his grandma’s house in North Carolina. I felt insanely proud. There’s just nothing like scooping into it and seeing all that goodness inside. Plus, you really do feel like a kitchen hero after. You control every ingredient, so it’s actually not just tastier but healthier than store-bought. If you’re needing an easy win (and hey, who isn’t?), pot pie is where it’s at. “I made this for Sunday dinner, and my picky teenagers ate seconds! Best chicken pot pie from scratch I’ve ever tried.” – Rachel . Ingredients & Substitutions for Chicken Pot Pie You’ll need pretty basic stuff for chicken pot pie from scratch. Here’s my usual list: Feeling wild? You can swap chicken for turkey. Veggies are flexible too; I’ve tossed in green beans, celery, sometimes even mushrooms (not everyone’s favorite, I know). Even almond milk can work, if someone needs it dairy-free. I always recommend using up what’s in your fridge—less waste, more flavor. Step-by-Step Instructions for Making Chicken Pot Pie Alright, let’s break it down and make this less scary. Start by preheating your oven to 425. First, melt the butter in a big pan on medium. Toss in carrots and cook them for a few minutes (soft is good here). Sprinkle the flour over it and stir until everything’s coated, like a weird science experiment. Now, add salt and pepper. Slowly pour in chicken broth and milk while stirring all the time, no stopping or you’ll get lumps. Cook this until it’s thick, about 5 minutes. Next, add in the chicken, peas, corn (and anything else you fancy). Stir until it’s all mixed up. Roll out the first crust and fit it into your pie pan. Pour in the filling. Top with the second crust, pinch the edges together, and cut some slits for steam. Pop that pie in the oven for about 30-35 minutes until it turns golden and beautiful. Let it sit for 10 minutes before serving (burnt tongue is nobody’s friend). Grab a big spoon and dish it up. Chicken Pot Pie Variations to Explore Okay, so here’s where you can get creative (or, honestly, work with what you forgot to buy at the store). Sometimes, I switch things up with leftover turkey if it’s after the holidays. One of my friends does a biscuit topping instead of the regular pie crust. It’s wild but super tasty. You can also make mini versions in ramekins for individual servings, kids think that’s just the coolest. Vegetarian? Ditch the meat and load up on mushrooms, potatoes, and more hearty veggies. I’ve even tried adding a pinch of curry powder for a different vibe—it’s unexpectedly good. I’m not kidding, there’s a hundred ways to tweak chicken pot pie from scratch without it ever getting boring. Experiment and see what your people love best. Tips for Perfecting Your Chicken Pot Pie Here are some top-notch tips I wish someone told me before my first pie: This is how you make your chicken pot pie from scratch look and taste like you’ve been baking for years. Common Questions How do I keep the bottom of my pot pie from getting soggy? Bake the pie on the lower oven rack and preheat your oven fully. Blind baking the crust a couple minutes helps too, but honestly, that’s optional if you’re in a rush. Can I freeze chicken pot pie from scratch after baking? Yep! Just cool it completely, wrap it well, and freeze. I reheat slices in the oven (cover with foil) for the best texture. What’s the best way to reheat leftovers? Oven’s your friend here. Microwave makes the crust mushy, just telling ya. Warm it at 350 for about 20 minutes. …

Baked Chicken Thighs Recipes have honestly saved my weeknight dinner stress more times than I can count. You know when you just want a crispy, juicy chicken dinner but you’re standing in front of the fridge with no clue? That’s me, often—usually after a crazy day! If you want foolproof, flavor-packed chicken that doesn’t dry out or get rubbery, keep reading. This will change your approach to weeknight chicken forever. Baked Chicken Thigh Perfection (And Here’s Why!) So let’s talk about why people (including yours truly) are kind of obsessed with baked chicken thighs recipes. First, thighs are totally forgiving. You can forget them in the oven for five minutes and they’ll still somehow be juicy, which basically makes them magical. I swear, even the pickiest eaters in my house get excited when I say it’s a baked chicken thighs night. There’s also that deeply satisfying crispy skin that’s way easier to pull off in the oven than on the stove. No wild splatters. No babysitting the pan. Just pop them in, flip once if you want extra crispy, then chill until the timer dings. Besides, chicken thighs are easier on the wallet, too, compared to breasts. That means tasty AND thrifty—can’t beat that combo. My friend Joan once said my crispy thighs tasted like a five-star restaurant. I wish I was joking. Nope, real words. “Finally—a baked chicken recipe that actually delivers super juicy meat AND shatteringly crisp skin. Totally a family winner.” – Robin P. The Essentials for Baked Chicken Thighs You don’t need a lot to kick off your baked chicken thighs recipes—believe me, I’ve tried every shortcut. Start with bone-in, skin-on chicken thighs. They really hold onto juiciness. A quick toss in olive oil helps the skin crisp up nicely. Sprinkle with salt and pepper. Give it some paprika, garlic powder, maybe a little thyme if you’re feeling fancy. If you want easy, line your sheet pan with parchment or foil for less scrubbing later (bless). Oh, and don’t skip drying the chicken with paper towels before seasoning. It sounds fussy, but the drier the skin, the crunchier the result. I tried using boneless skinless thighs one time out of curiosity—they came out fine, but even my usually polite spouse said, “So where’s that crispy skin?” Lesson learned. Keep it classic for best results. My #1 Secret for Juicy and Tender Chicken Thighs Here’s my little not-so-secret secret: let the chicken rest before you serve it. I know you’re hungry and your kitchen smells amazing, trust me, I get it! Still, let those baked chicken thighs recipes cool down for a few minutes on the pan after you pull them out of the oven. Why? That tiny break lets the juices settle back in. If you cut in too soon, all the good stuff just leaks out and you’ll wonder what went wrong. Five (painful) minutes is all it takes. Set a timer if waiting is just too hard. Rested chicken is juicy chicken. Pinky swear. Another nugget: don’t overcrowd the pan. If the thighs are too close, they’ll steam instead of crisp. Give ’em some breathing room! Baking Temperature and Timing This one’s pretty straightforward but also so easy to overthink. For baked chicken thighs recipes, I stick with 425°F for most nights. High heat is your best bud here—it gets the skin crunchy while keeping the meat inside nice and juicy. Most thighs will bake up in about 30-40 minutes, depending on how big they are. If they’re on the bigger side, tack on five-ish minutes. I always check with a thermometer. When they hit 175°F, they’re officially done. You can start peeking at the 30-minute mark. If you want extra browning, crank it up under the broiler for two minutes at the very end, but watch them close—these will go from perfect to burnt real fast. Honestly, once you get the hang of this, you’ll probably never want to fuss with pan-frying again. Oh, and don’t forget to take a whiff when you open that oven door. Nothing smells better, I promise. What to Serve with Crispy Baked Chicken Thighs Let’s get practical—we all need something tasty to round out dinner. These are my go-tos: Some nights I’ll toss together a bright salad with lemon dressing just to cut the richness (if I’m feeling healthy, which, let’s be real, happens… sporadically). If you’ve got leftover baked chicken thighs recipes the next day, shred them up and put them in a wrap or toss them in a quick fried rice. That’s honestly a win in my book. Common Questions Can I bake chicken thighs from frozen? Actually, yes, in a pinch! Add an extra 20 minutes and make sure you season well. Just check for doneness. Do I have to use a wire rack on the pan? …

Chicken Tocino isn’t just a recipe for me — it’s a piece of why I started Beam Recipes. I’m Amanda, and I grew up cooking …
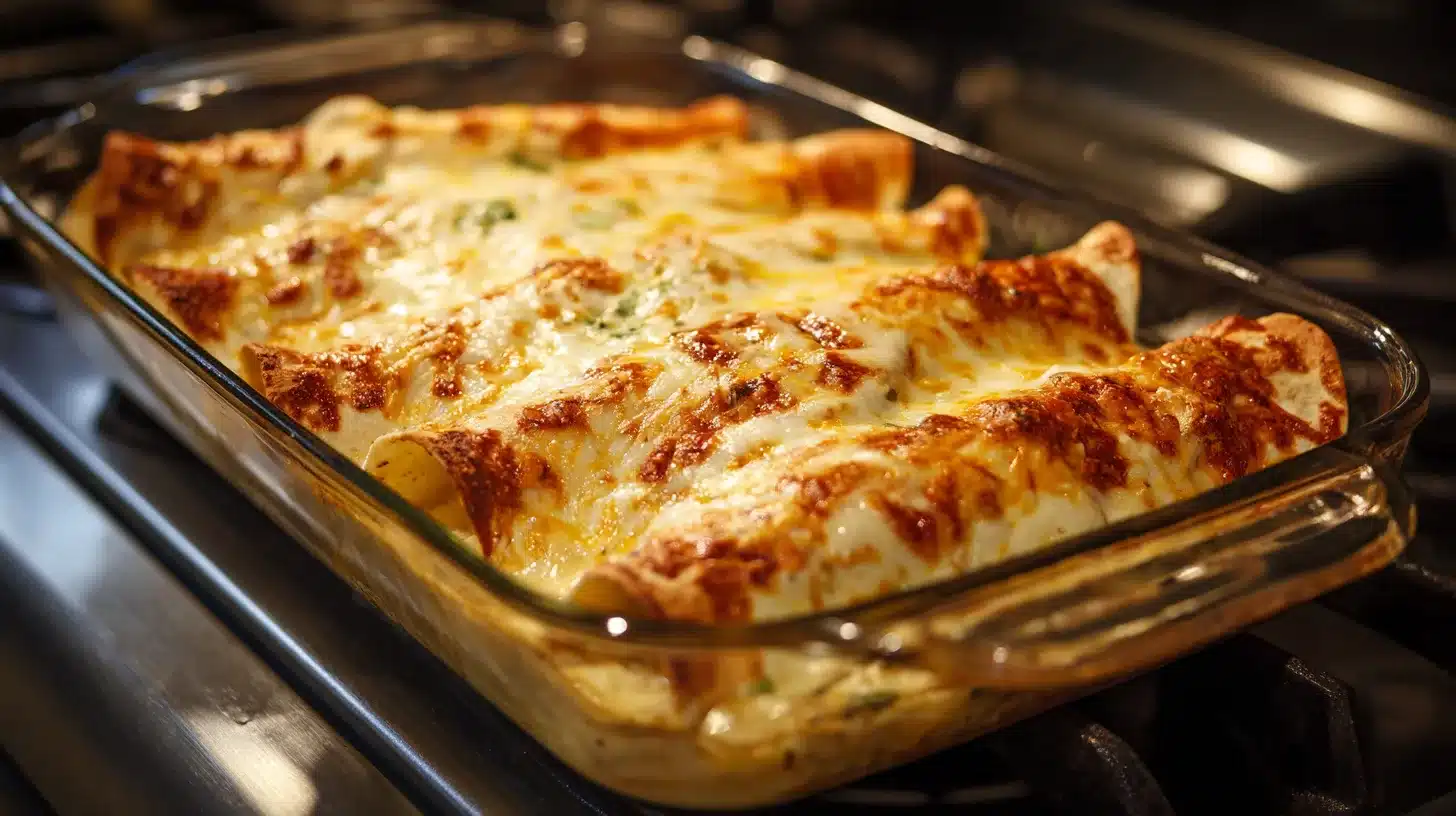
Easy Creamy White Chicken Enchiladas have a way of reminding me why I started cooking in the first place. Hi, I’m Amanda — the cook …

chicken white bean chili instant pot style — wasn’t meant to be special. I grabbed frozen chicken, a can of white beans, and whatever I …

This crockpot recipes white bean chicken chili saved me on a night when I almost lost my appetite for dinner. Hi, I’m Amanda, a mom, …

Street Corn Chicken Enchiladas are what I make when I’m tired, hungry, and just need something that works. They’re warm, creamy, a little spicy — …